Unity网络游戏开发 (基于NodeJs的弱联网方案)中
上一章中,我们部署好了后端服务,这一章,我们将组合unity进行开发,本篇将主要针对资源的更新、下载进行探讨研究。
一、客户端与服务器通讯测试
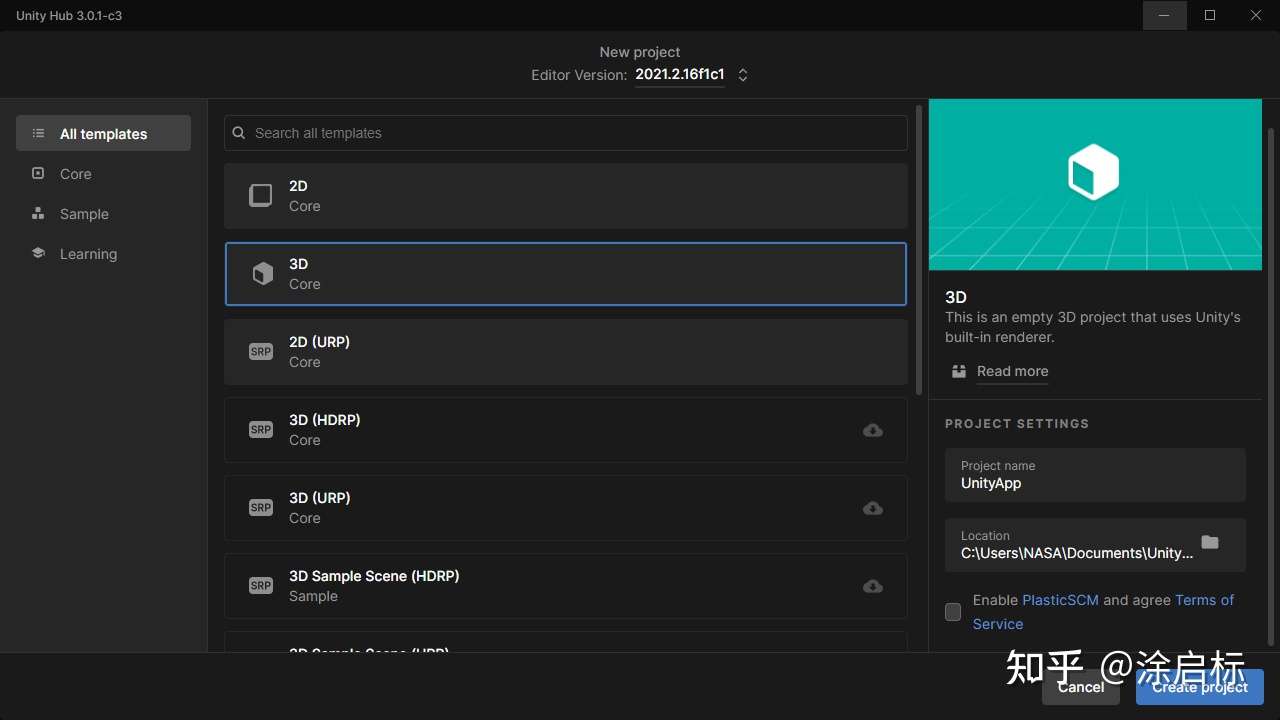
1.安装并创建一个Unity项目:
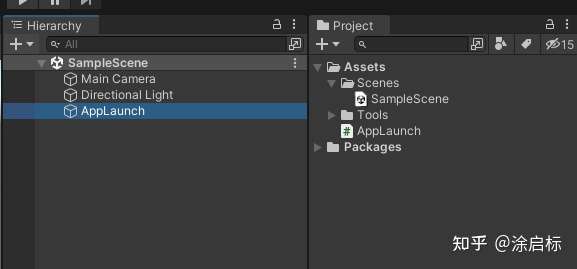
2.在默认场景中,创建一个空物体,并命名为AppLaunch,作为测试启动入口。放入通用工具类(可在文末的github下载源码获得),并创建一个AppLaunch类,将其挂载到AppLaunch空物体上。
3.编写AppLaunch的测试代码,先编写协程:
    IEnumerator GetMethodTest(string uri)
    {
        UnityWebRequest request = UnityWebRequest.Get(uri);
        yield return request.SendWebRequest();
        Debug.Log(request.downloadHandler.text);

        request.Dispose();
        yield break;
    }
4.在NodeJS端,编写服务器代码,基于上一章内容,进行修改,保存后,运行app.js脚本:
'use strict';
var express = require("express");
var path = require("path");
var app = express();
const PORT = process.env.PORT  || 3000
app.listen(PORT,(err) => {
    if(err)
    {
       console.log("连接出错!");
    }
    console.log("连接正常","http://127.0.0.1:" + PORT);
    } );

//指定根目录映射到www_root路径下
app.use("/",express.static(path.join(process.cwd(),"www_root")));

//get方法路由,映射uploadData路径
app.get("/uploadData",function(req,res){
    res.send("hello unity");
});
5.回到unity端,进行代码测试,在start方法中:
    private void Start()
    {
        var uri = "http://127.0.0.1:3000/uploadData";
        StartCoroutine(GetMethodTest(uri));
    }
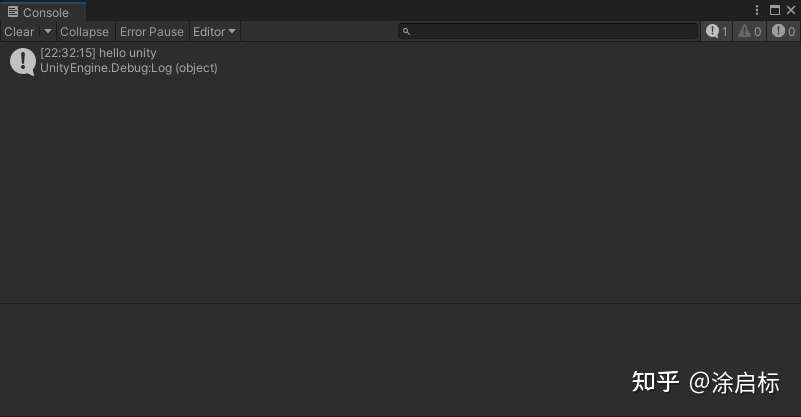
6.在控制台面板中即可收到反馈信息,说明流程已经跑通:
二、下载版本信息示例
做版本更新,一般我们是以服务器提供的版本号为基准,所以需要客户端去拉去服务器的版本号来确定本地是否需要更新。那么如何得到版本号呢?本例我们就来测试下:
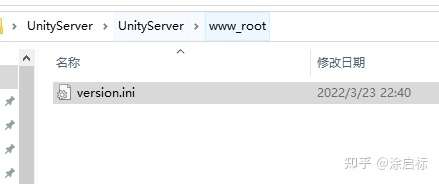
1.创建一个版本信息文件,version.ini,并放入到www_root目录中:
2.用文本工具编辑http://version.int内容为1.0.0,并保存。
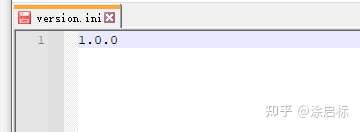
3.回到unity中,在AppLaunch.cs中添加:
    IEnumerator GetVersionInfo(string uri) {
        UnityWebRequest req = UnityWebRequest.Get(uri);
        yield return req.SendWebRequest();
        Debug.Log("Server return:" + req.downloadHandler.ini);

        req.Dispose();
        yield break;
    }
4.在start方法中,添加测试:
   var uri = "http://127.0.0.1:3000/version.ini";
   StartCoroutine(GetVersionInfo(uri));
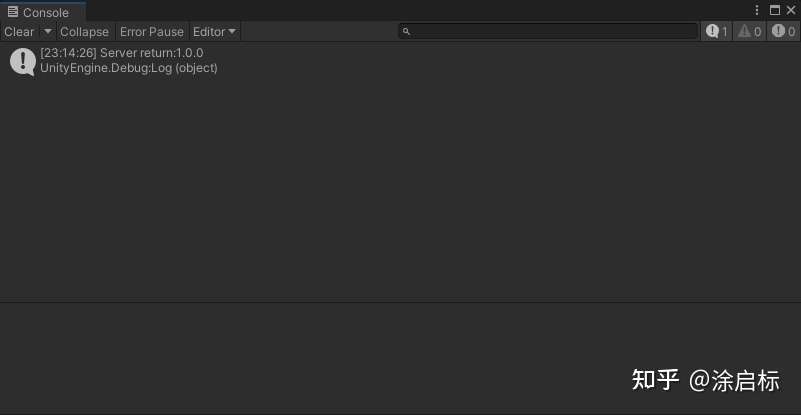
5.这样就能获得到版本信息了,运行结果如下:
三、从服务器下载文件到本地
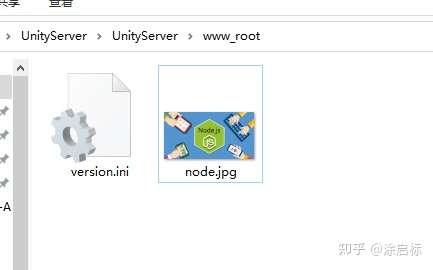
1.任意照一张图片,放到www_root目录下
2.回到unity端编写脚本:
    IEnumerator DownloadAndSaveBinFile(string uri) {
        UnityWebRequest req = UnityWebRequest.Get(uri);
        yield return req.SendWebRequest();
        // req.downloadHandler.data:存放了二进制数据;
        string outputFileName = Application.persistentDataPath + "/Img/icon.png";
        Debug.Log(outputFileName);
        GameUtility.SafeWriteAllBytes(outputFileName, req.downloadHandler.data);
        // end

        req.Dispose();
        yield break;
    }
3.同样在start方法中添加测试:
var uri = "http://127.0.0.1:3000/node.jpg";
StartCoroutine(DownloadAndSaveBinFile(uri));
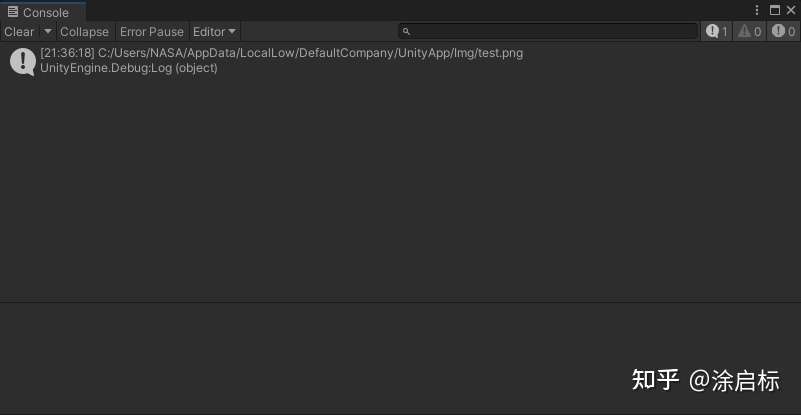
4.运行unity测试,提示已经保存到指定目录下:
5.在指定目录(Application.persistentDataPath + "/Img/)下,找到了下载好的图片:

四、上传文件到服务器
1.在unity端继续编写代码:
    IEnumerator UploadFileToServer(string uri) {
        string fileName = Application.persistentDataPath + "/unity.gif";
        byte[] fileDatas = GameUtility.SafeReadAllBytes(fileName);
        Debug.Log(fileDatas.Length);

        UnityWebRequest req = UnityWebRequest.Put(uri, fileDatas);
        yield return req.SendWebRequest();

        Debug.Log("Server return: " + req.downloadHandler.text);

        req.Dispose();
        yield break;
    }
2.在服务端,创建一个目录,名为upload,用来存储上传的文件:
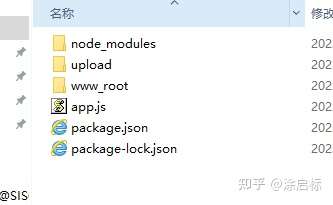
3.编写app.js文件,添加一个新的方法,fs方法跟c#的文件方法其实类似:
//引入fs包
var fs = require("fs");
//定义put方法
app.put("/UploadImgFile",function(req,res){
    var fd = fs.openSync("./upload/unity2022.gif","w");
    req.on("data",function(data){
        fs.write(fd,data,0,data.length,function(){});
    });
    req.on("end",function(){
        res.send("UploadSucess!");
        fs.close(fd,function(){});
    });
});
4.继续回到unity,添加测试代码:
    private void Start()
    {
        var uri = "http://127.0.0.1:3000/UploadImgFile";
        StartCoroutine(UploadFileToServer(uri));
    }
5.输出了一个文件大小的log,以及一个服务端反馈的Sucess信息。
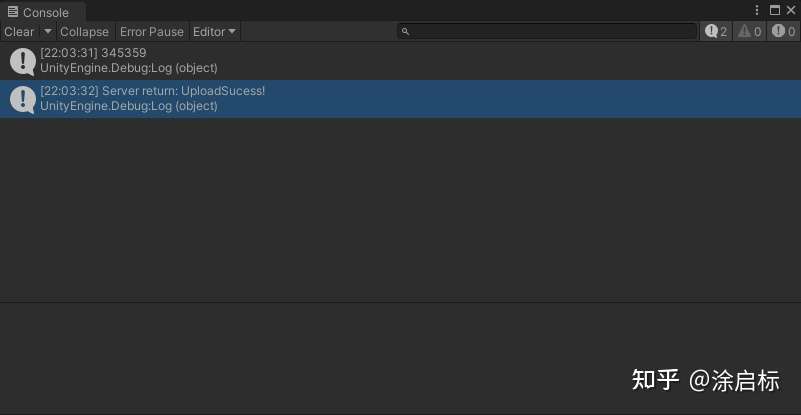
6.回到服务端的目录下,就看到文件已经上传成功:
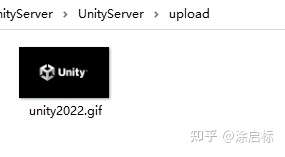
总结
以上主要针对在弱联网应用中的资源网络上传以及下载。至于数据层面的,会涉及到数据库,主要也是数据的增删改查,也是类似的使用Get/Put/Post/Delete四个数据操作方法。我们后续再用一个新的篇幅进行探讨,我们下篇见。

 扫一扫,请博主喝杯咖啡~